
How to Press Seams: Make It Look Professional
Learning to press is a fundamental step to creating unbelievable custom garments. If you don’t get anything else from this blog post, remember this one tip– press every seam. Pressing seams is not the step you want to skip. Although pressing can be easy to overlook, it significantly impacts the final result. You can achieve crisp and beautiful seams and hems using tools and basic techniques. There is also a cheat sheet at the end of this blog post for all the best tips.
It’s important to note that pressing differs from ironing. While ironing involves moving the iron back and forth over the fabric, pressing requires holding the iron still and applying pressure.
I recommend pressing every seam after sewing to create flat and inconspicuous seams.
Although most seams are pressed open, some patterns may require a seam to be pressed to the side. If this is the case, follow the same steps but move the seam allowance to one side before pressing on the wrong side.
Pressing seams is an essential step in sewing that helps create professional-looking and well-finished garments. Here’s how you can press seams effectively:
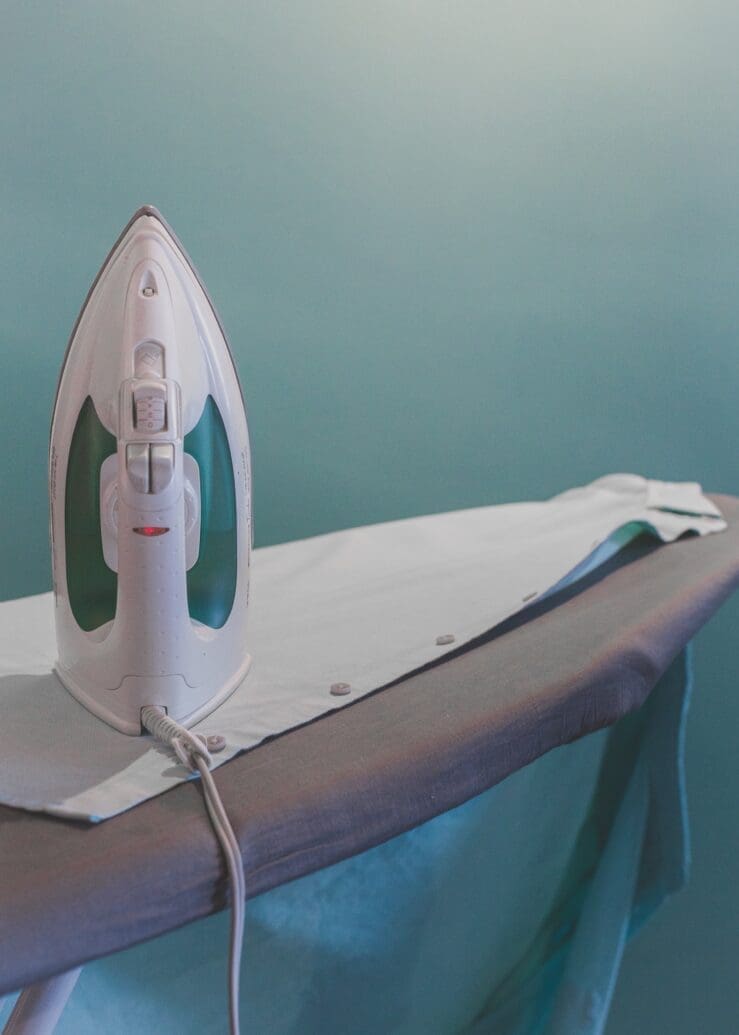
1. Set up your ironing station:
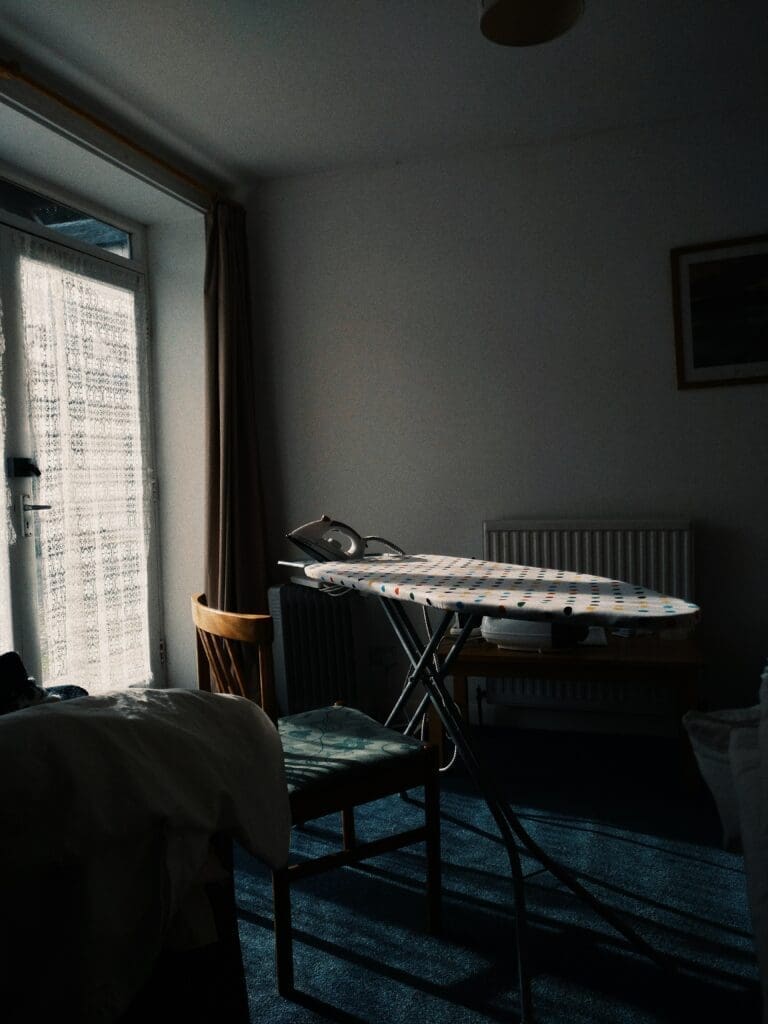
Ensure you have a sturdy ironing board and an iron that is clean and in good working condition. Fill the iron with water if necessary for steam. A million debates exist about which type of water you should use in your iron. Where I live, the limescale is horrible. I do not use tap water in my iron for this reason. If I used tap water in the iron, that nasty white scale would bubble out on my projects. Those of you on well water should also rethink your choices regarding putting well water in your iron. On the other hand, distilled water may corrode the inside of your iron. For best results, read the manufacturer’s recommendations for your specific iron, know your local water composition, and use filtered water, not bottled water when in doubt.
As for irons, that’s an entirely different blog post. It depends on what you are sewing or doing — ironing clothes, making quilts, making garments, your personal budget, etc. Also, there are a zillion personal preferences we can talk about. So, I’ll reserve that for another day.
2. Seam preparation:
Once you’ve sewn your seam, trim any excess fabric and remove loose threads. Cutting or finishing the seams will help create a neater finished look.
3. Open or press to one side:
Pressing seams open when constructing garments is common to prevent them from becoming bulky and uncomfortable. Correct pressing techniques involve pressing both seam allowances flat. Alternatively, you can press one seam allowance to one side. The direction you choose to press the seam will depend on the pattern instructions or your preference. Some sewists believe that pressing the seams melds the thread.
4. Heat the iron:
Adjust the temperature of your iron according to the fabric you’re working with. Use a lower heat setting for delicate fabrics and higher heat for sturdier fabrics. Testing the heat setting on scrap fabric is always good before pressing the actual seam.
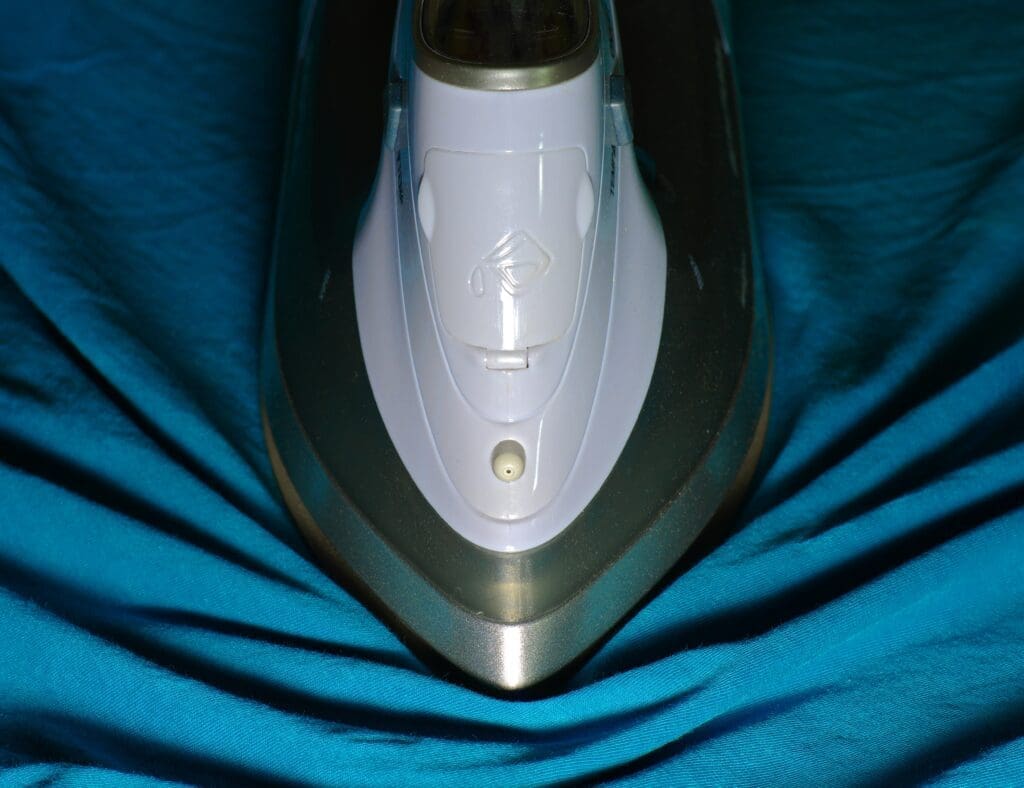
5. Steam or dry ironing:
If your fabric can handle it, use the steam function on your iron to add moisture to the fabric and help set the seam. Test it. Remember my melted overlay Simplicity 8545? I test scraps of my project before I start pressing because sometimes you don’t have enough fabric for a do-over. Use a dry iron if your fabric is delicate or doesn’t react well to steam.
6. Press the seam–actually:
Depending on your chosen technique, place the seam over the ironing board, flat or to one side. Hold the iron vertically and press down firmly with even pressure. Avoid sliding the iron back and forth, as this can distort the shape of the fabric.
7. Repeat and continue:
Move along the length of the seam, pressing section by section until the entire seam is pressed.
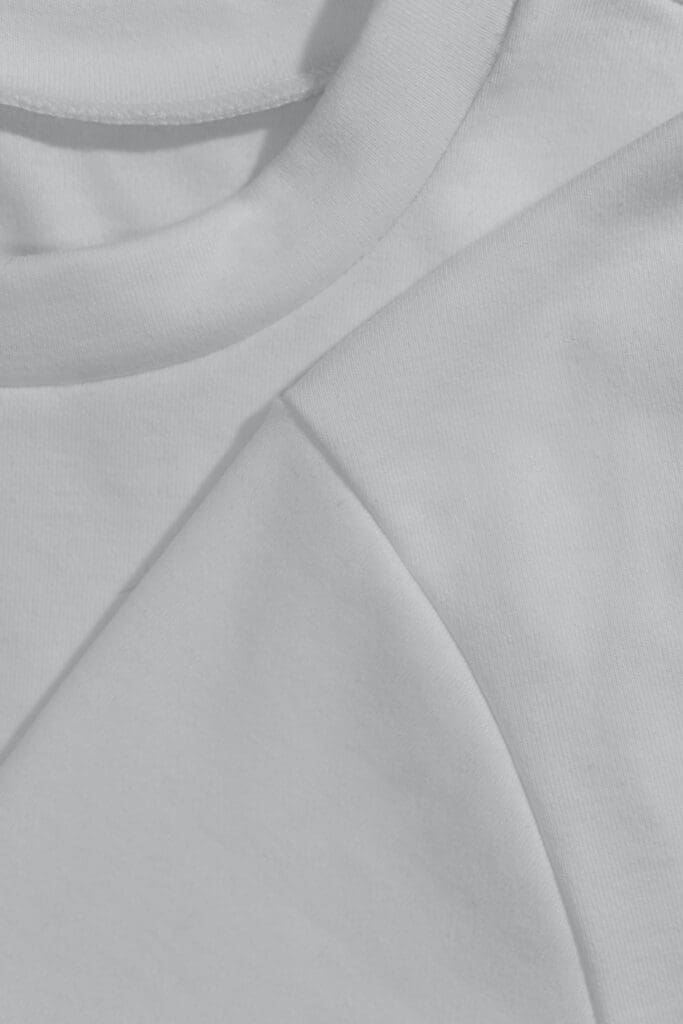
8. Check the result:
After pressing, lift the fabric and inspect the seam from both sides. It should be neat, flat, and free from any wrinkles or puckers.
9. Repeat for other seams:
If you have multiple seams to press, repeat the process for each one.
10. Pressing aids:
Sometimes, you may need additional tools to help achieve better results. For example, a tailor’s ham or sleeve roll can be used to press curved or hard-to-reach seams. A pressing cloth can also be helpful to protect delicate fabrics from direct heat.
11. Final press:
Once you’ve pressed all your seams, you may want to give the entire garment a final press. Lay it flat on the ironing board and press downward, being careful not to stretch or distort the fabric.
12. Allow time to cool and set:
After pressing, give the fabric some time to cool down and set before handling or moving it. This will ensure that the seam retains shape and the fabric isn’t wrinkled.
13. Store properly:
To keep your pressed seams in good condition, store your garments appropriately. Hang them or fold them neatly, and avoid crushing the seams.
Remember, this step is an essential part of achieving professional-looking sewing projects. It may seem like an extra step, but it can significantly affect your garments’ overall appearance and longevity.