
The Secret to a Professional Hem: A Step-by-Step Guide to Sewing Horsehair Braid
Hello, my talented sewing friends!
Have you ever admired a gown on the red carpet—or a beautiful formal piece in a luxury boutique—and wondered how the hem gets that perfect, sculptural wave? It seems to float and dance with a life of its own.
For years, I thought it was some complicated industry secret available only to couture designers. But getting that high-end, luxury finish at home is actually incredibly simple.
The secret ingredient? Horsehair braid.
What is Horsehair Braid?
Don’t let the name fool you; it’s not made from actual horsehair anymore!
- It’s synthetic: Today, it’s a flexible nylon or polyester netting.
- It builds structure: It adds weight and body to the bottom edge of your garments.
- It creates volume: It’s what gives a hemline that gorgeous, buoyant, “stand-out” look.
As a mighty 4’11” sewist, I spend a lot of time altering, cutting, and perfecting hems. Horsehair braid is my absolute favorite way to elevate a circle skirt, give life to a special occasion dress, or even add drama to the cuff of a sleeve.
Let’s turn your beautiful sewing into a showstopper.
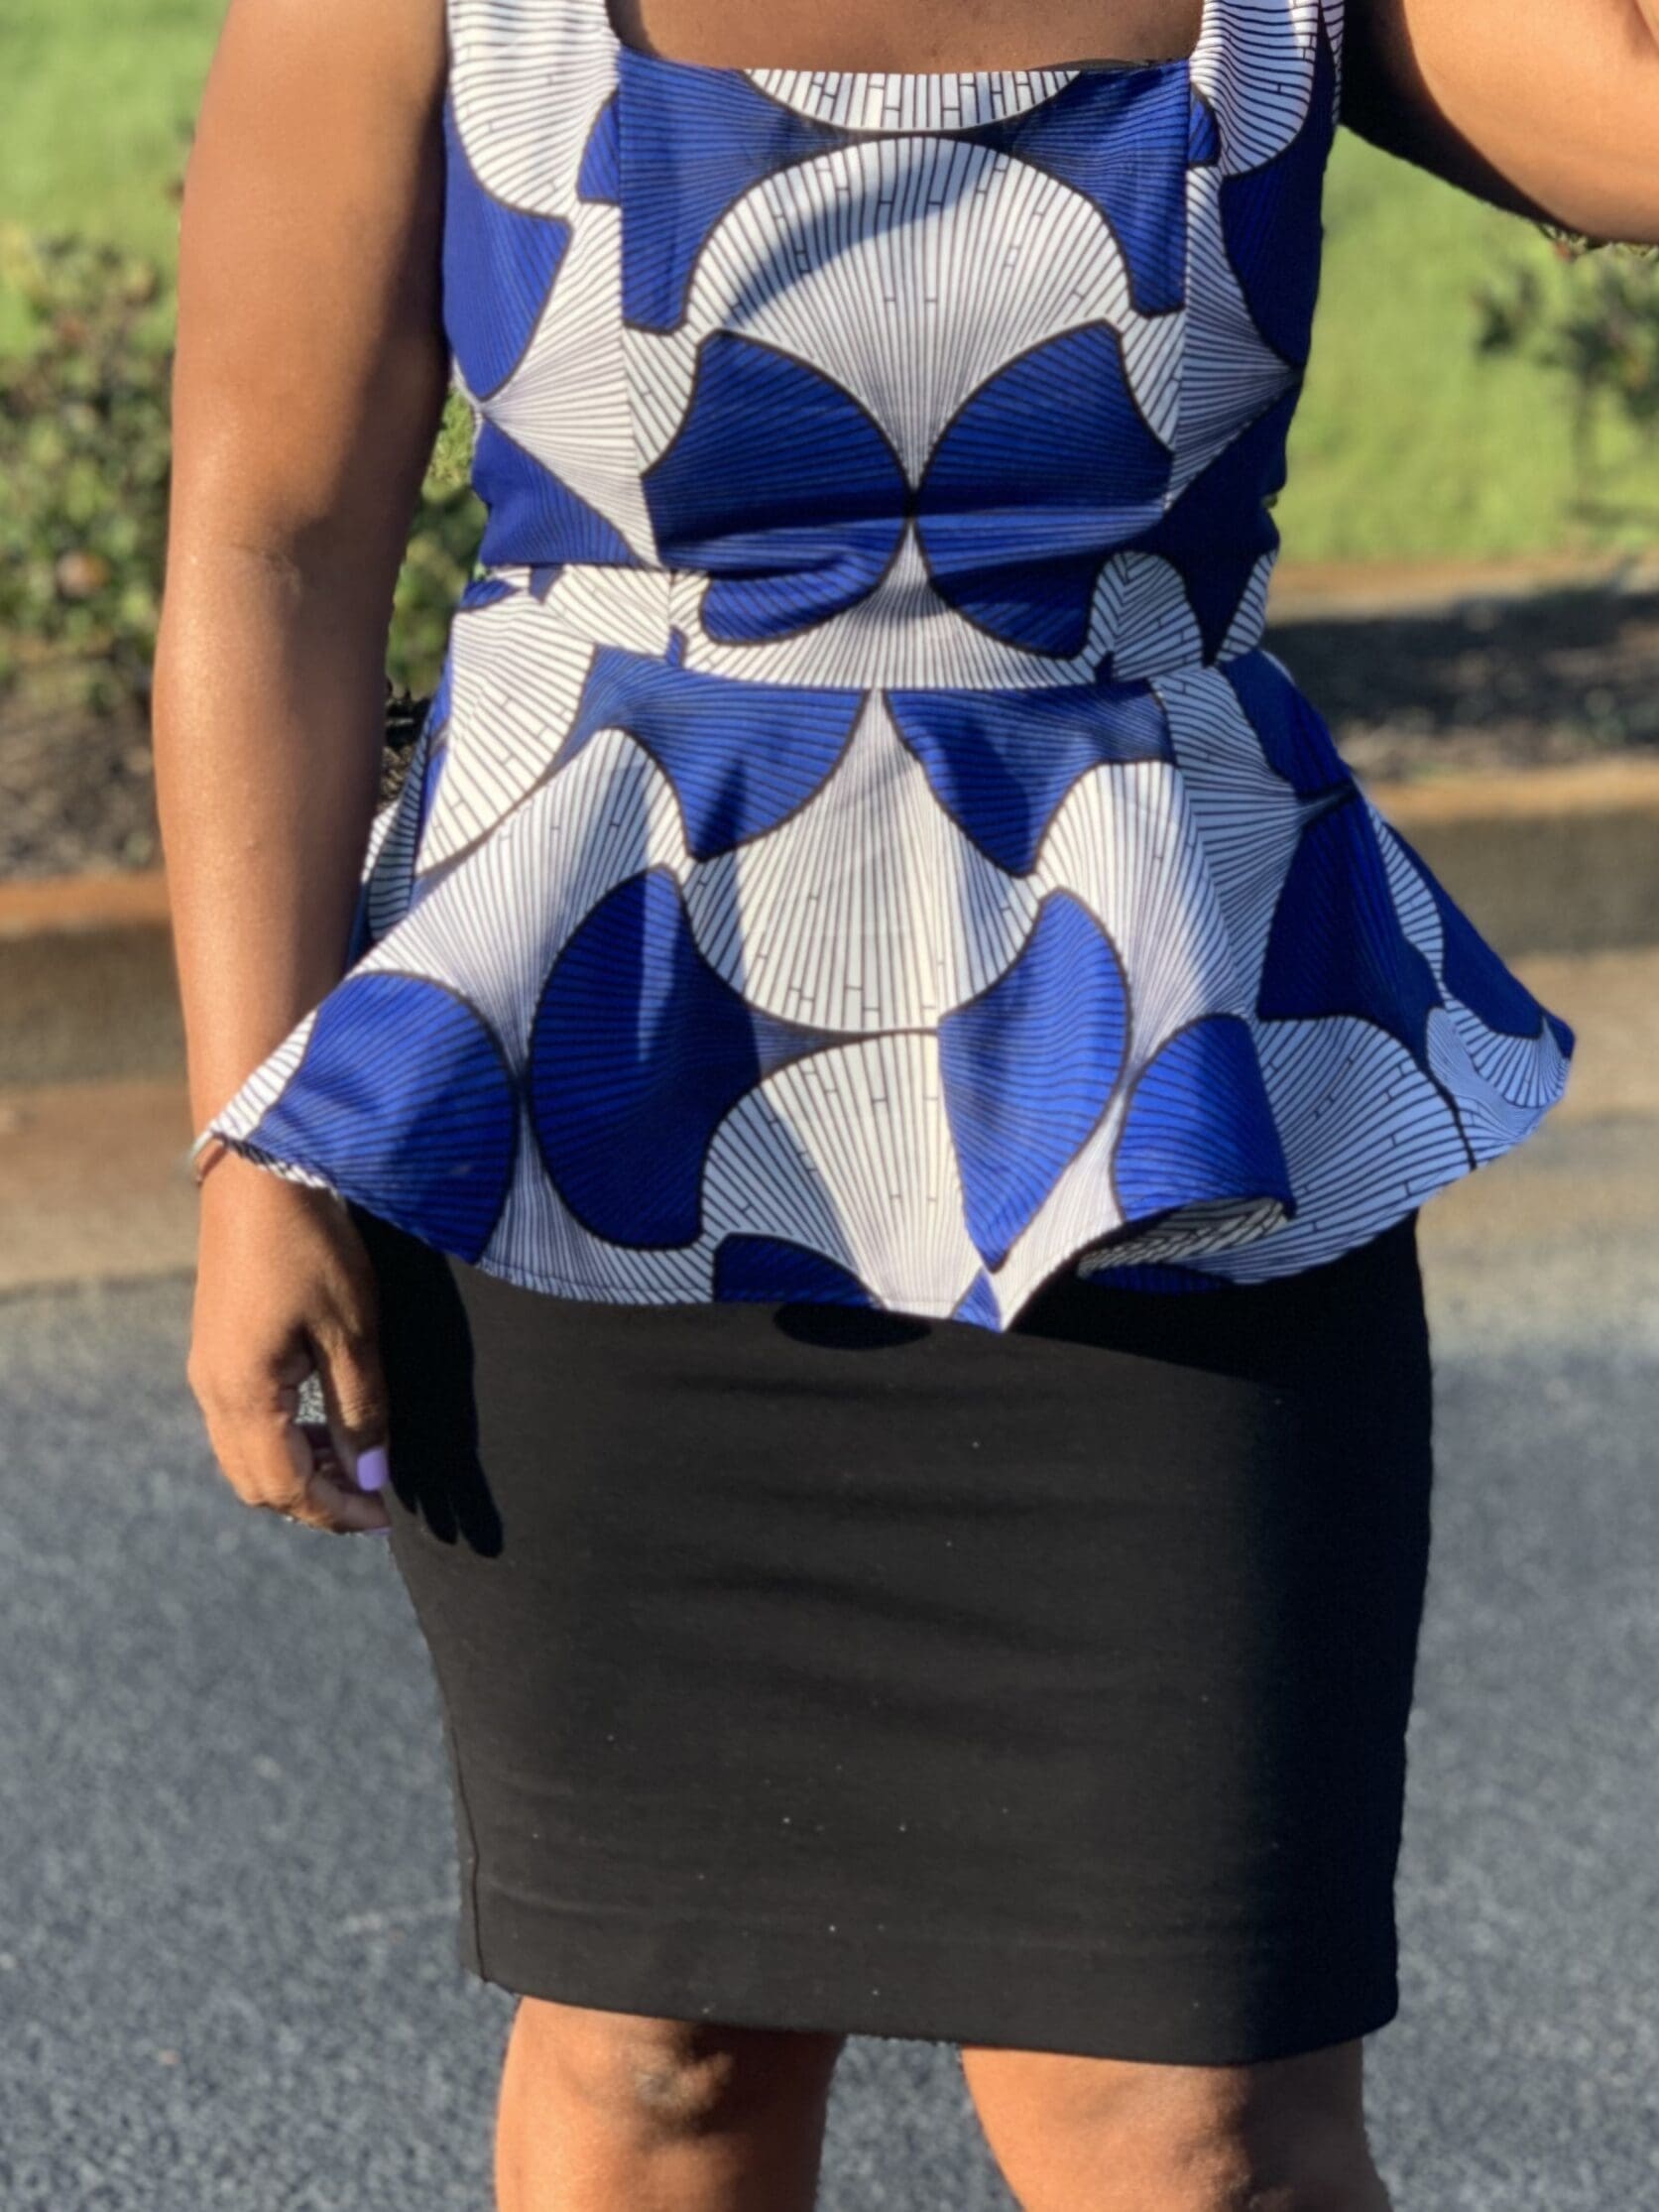
See It In Action
Before we get to the step-by-step tutorial, you can see how this technique looks on a finished garment. I’ve used horsehair braid in several projects right here in The Custom Collection:
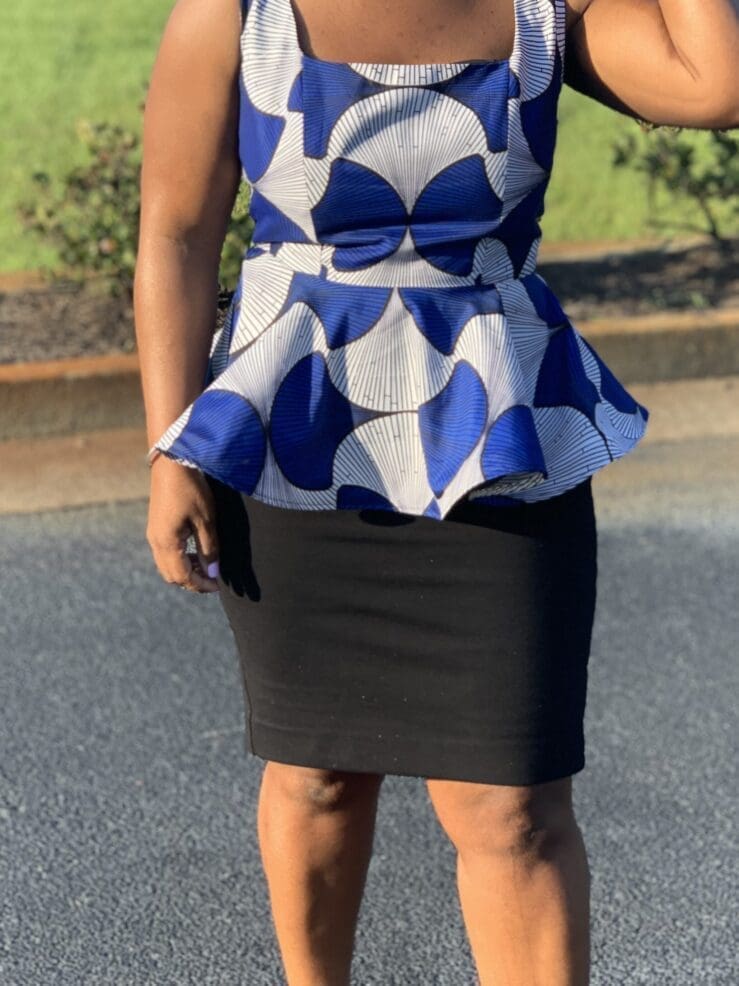
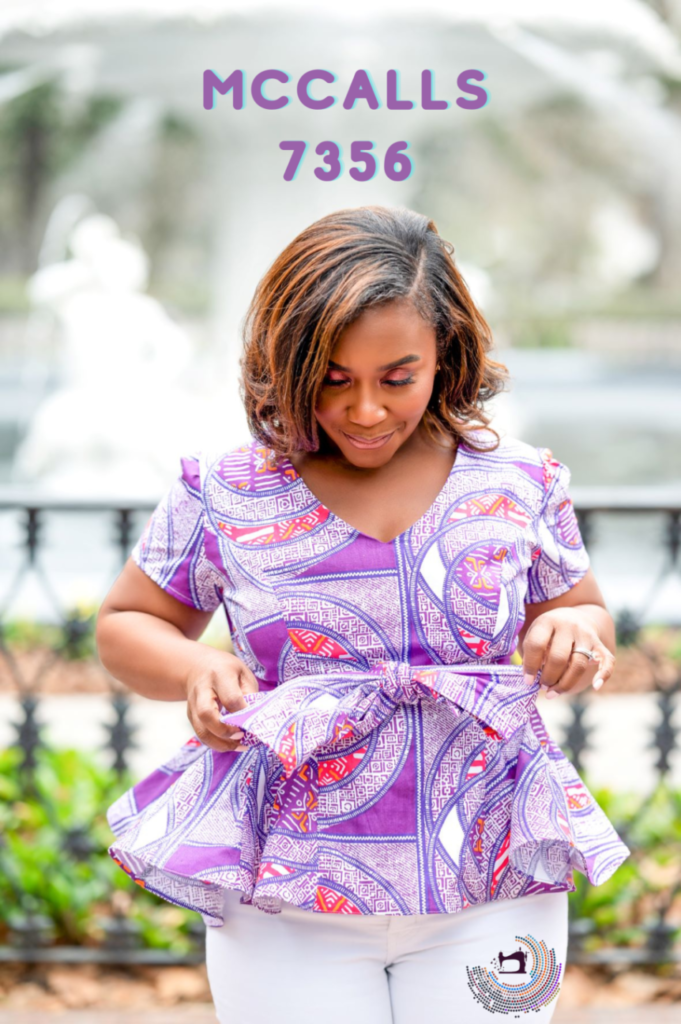
McCalls 7356: Used to give the hems the perfect sweeping structure. (Make sure to hyperlink this bullet point to the actual post!)


Types and Colors of Horsehair Braid
At its core, horsehair braid is a semi-flexible crinoline netting. It’s designed to give shape or form to a specific area of your garment.
Generally, you will easily find it in three standard colors: black, white, and cream. However, if you stumble into a super-duper fantastic specialty store, you can find this netting in every color under the sun!
It also comes in various widths. The width you choose absolutely matters when finishing your garment—wider braids create a much more dramatic, stiff flare, while narrower widths offer a subtle bounce.

The quality of the netting and the weave can vary greatly from shop to shop. If you are not familiar with the product, I highly advise buying it in person for your first few projects or shopping based on a trusted friend’s recommendation.
Here are the best places to source it today:
Fabric Sourcing Trips: Whenever I happen to be traveling, I make it a point to hunt for this notion in bulk. If you ever find yourself near shops that cater to fine garment fabrics—like Fine Fabrics or Gail K in Atlanta, Britex in San Francisco, Mood in LA, or exploring the garment districts in NYC or Paris—definitely grab a few yards while you’re there!
Big Box Craft Stores: Since the giant brick-and-mortar craft stores are a thing of the past, we have to be a little more strategic with our sourcing!
Online Retailers: With old favorites like Fabric.com closed, I frequently order my horsehair braid from Amazon. You can also order from Wawak, though they typically only stock the natural, standard colors (black, white, and cream).
What Should You Pay?
Beware: prices vary widely depending on where you shop and the quality of the netting. I’ve purchased this notion for anywhere from $0.50 to $2.20 per yard, entirely depending on my level of desperation at the time!
Choosing Your Horsehair Braid: Width vs. Stiffness
When you shop for horsehair braid, you’ll notice two main variables: stiffness and width.
- Stiffness: You can find soft-finish or crisp-finish braid. For delicate fabrics like chiffon or organza, a soft braid is lovely and fluid. For fabrics with more body, like taffeta or satin, a crisp braid will give you that amazing, architectural structure.
- Width: It can range from 1/2″ all the way up to 6″ or more! A wider braid will create a much more dramatic, pronounced wave. I typically use 1″ or 2″ for most of my projects.
Where Should You Use It?
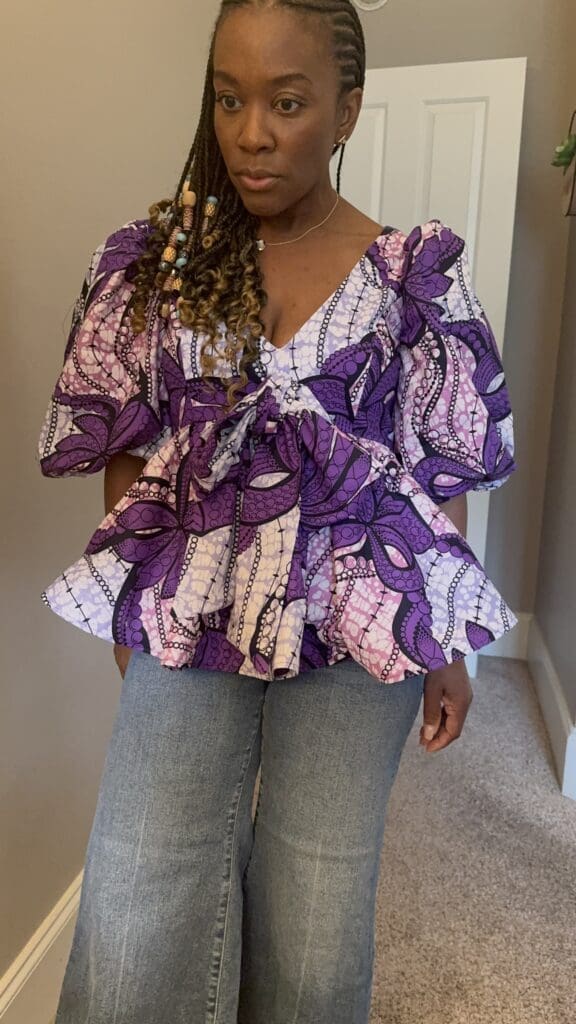
My use of horsehair braid is almost exclusively limited to hems and sleeves. It gives incredible life to an otherwise flat area—think large circle skirts, peplums, bell sleeves, and even hats. The true beauty of horsehair braid is that it adds voluminous body without adding heavy weight.
Step-by-Step: How to Sew Horsehair Braid
Gather Your Tools Before we start, make sure you have everything at your sewing station:
- Your garment with the hem edge finished (serged or zig-zagged is perfect) but not yet turned up or hemmed.
- Horsehair braid (enough to go around your entire hem, plus a few extra inches).
- All-purpose polyester thread that matches your fabric.
- A Universal machine needle.
- An iron and a pressing cloth.
- A hand-sewing needle (for the final finishing touch!).
Step 1: Measure Twice, Cut Once
First, you need to decide exactly how much horsehair you need. Trust me, nothing is worse than getting halfway around a massive skirt and realizing you don’t have enough braid to finish the round!
Measure the entire circumference of your hem. Once you have that number, add 2 to 3 extra inches to the total length before you cut. It is always better to have a little excess to overlap at the end.
A Quick Note on Hem Length
Before we pin, you might be wondering if you need to adjust your pattern’s hem length to account for the braid. Generally, for tops (like a fun peplum), I don’t adjust the hem length at all. The exact length to the millimeter usually isn’t a big deal to me, so I don’t bother lengthening or shortening the pattern pieces. If you are making a floor-length gown where the exact length is critical, you’ll want to factor the width of your braid into your hem allowance.
Step 2: Position and Pin the Braid
Lay your garment out flat with the RIGHT side of the fabric facing up.
Take your horsehair braid and place it directly on top of the right side of the fabric. You want to align the bottom edge of the braid precisely with the raw (or serged) edge of your hem.
- Where to start: Always start at a discreet location, like the center back seam.
- The overlap: Leave a free “tail” of about 1/2 inch of the braid hanging off the start point. You will need this to overlap the ends neatly when you make it all the way around.
- Pin it down: Don’t worry about the top edge of the braid for now. Just pin the bottom edge in place all the way around your hemline.
Step 3: The First Pass of Stitching
Take your pinned project to the machine. You are going to stitch the horsehair braid to the fabric along that bottom edge.
The golden rule: Stitch at your desired hemline, but whatever you do, DO NOT stretch the horsehair braid as you sew. Let the feed dogs do the work so the braid lays completely flat against the fabric.

The settings: I typically use a standard 2.5mm stitch length and a 1/4″ seam allowance.
Step 4: The Unconventional Presser Foot Trick
As you stitch that first pass 1/4″ from the bottom edge, you might find the bulk of the fabric makes it hard to visualize your project.

Here is my unconventional trick: I actually love using a zipper foot for this step! While you could use a walking foot, the zipper foot allows me to clearly SEE what I am doing and gives me much more CONTROL right up against the edge of the braid.
Step 5: Turn the Braid Inside
Once you’ve made it all the way around the skirt (and overlapped your ends), it is time to turn the hem.
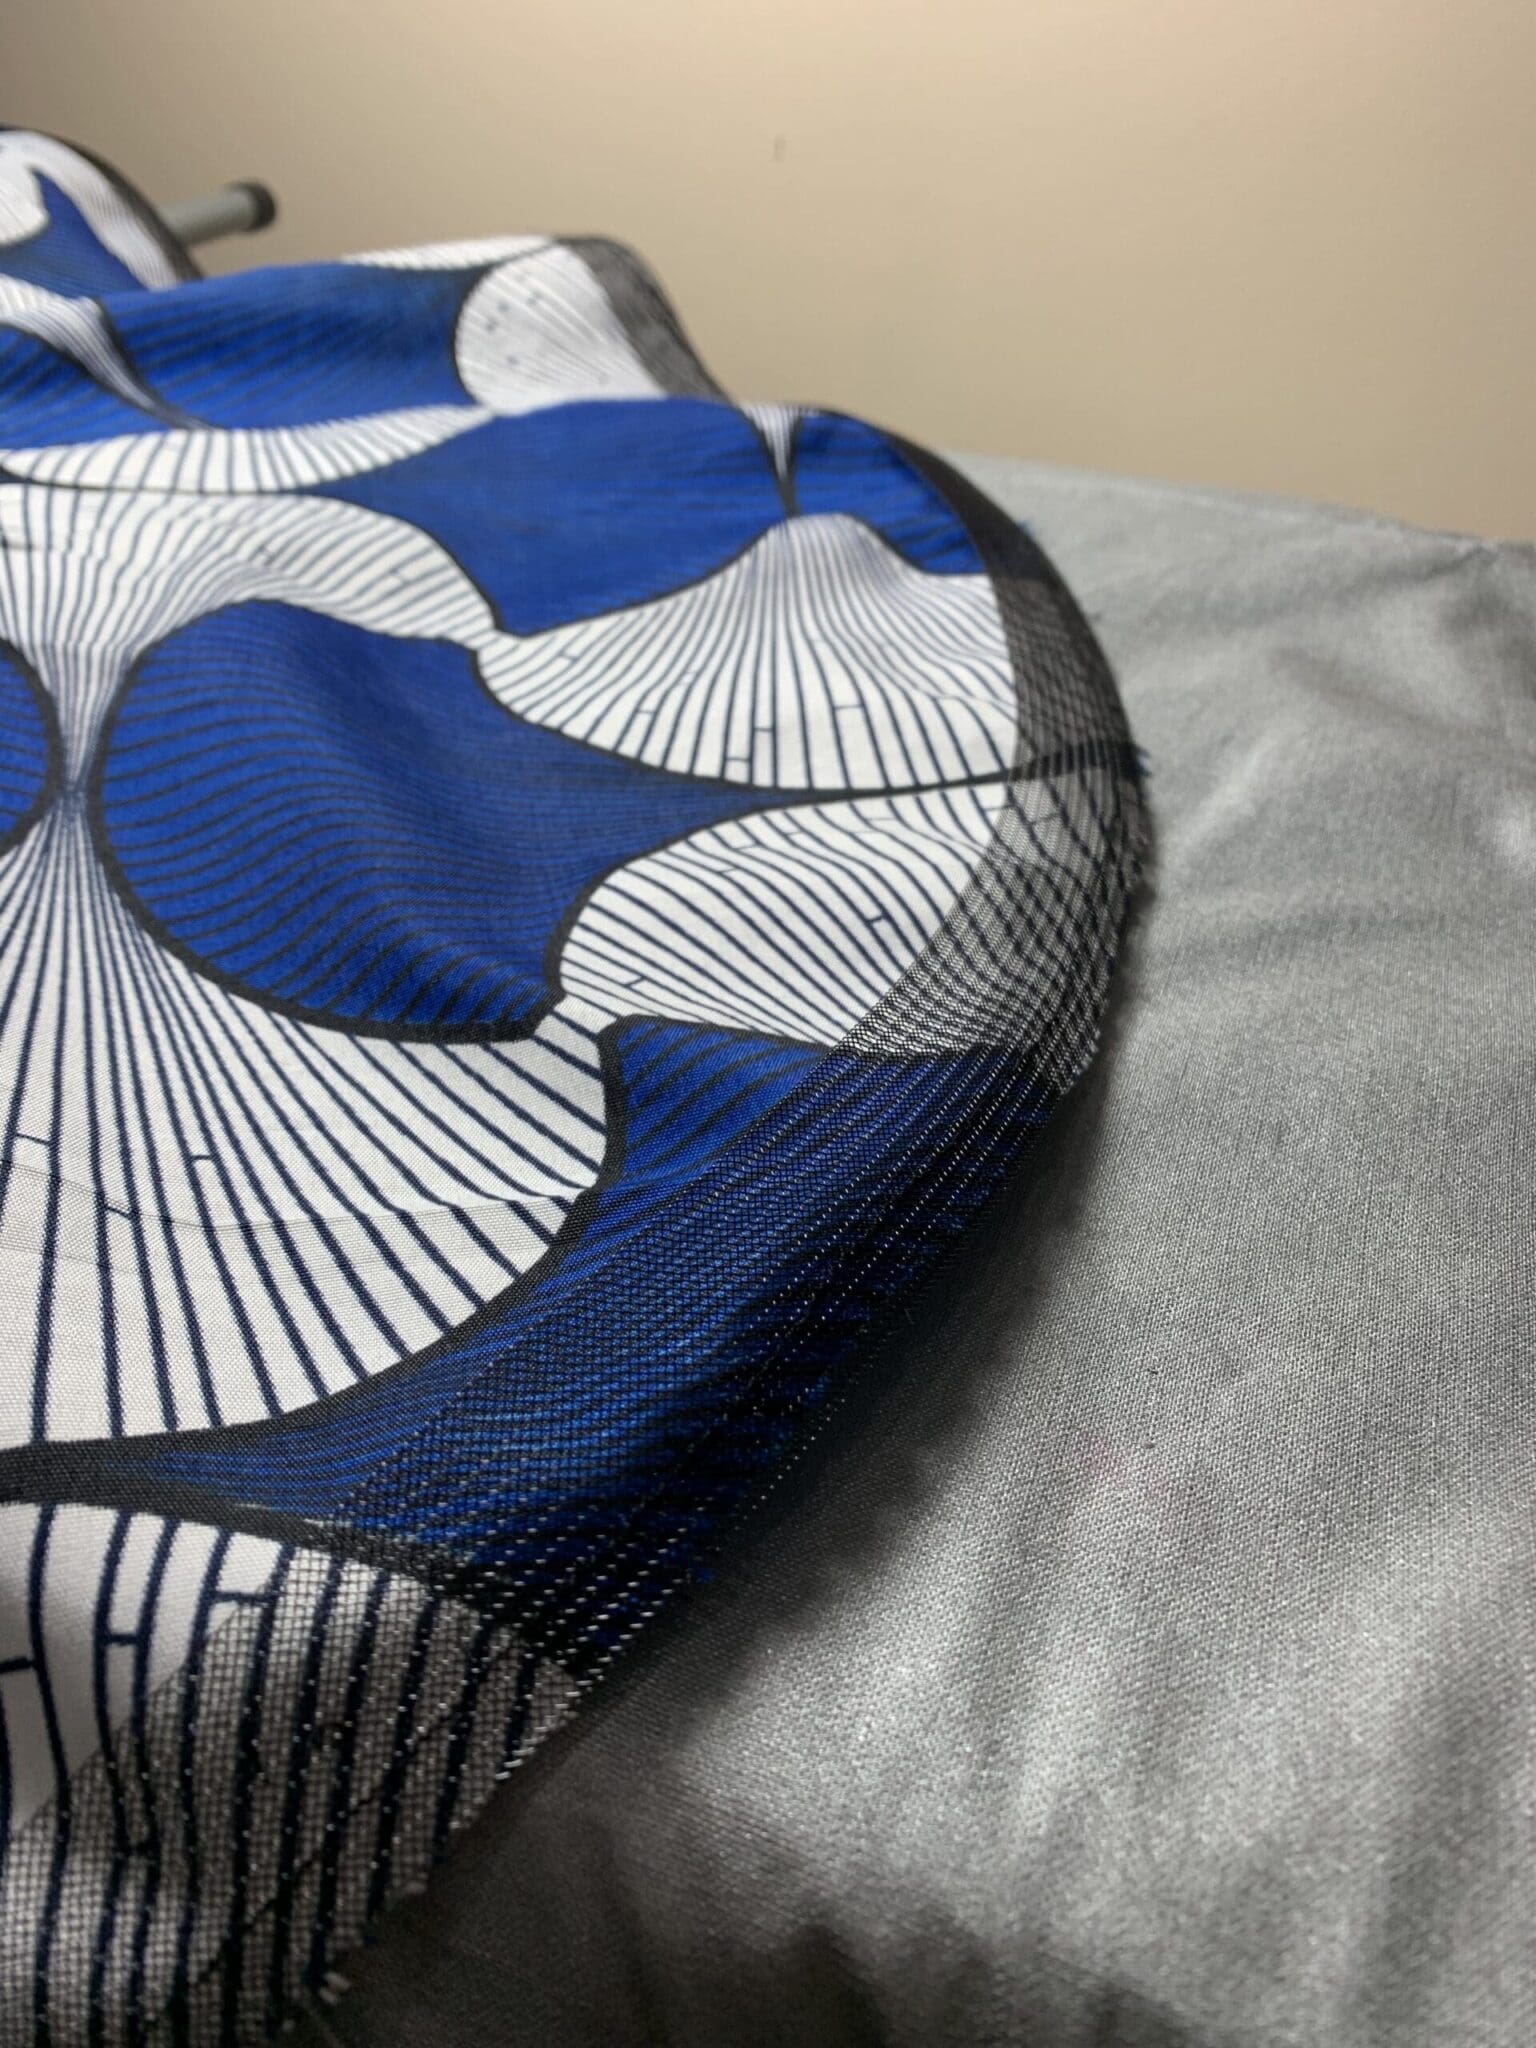
Fold the horsehair braid completely over so it rests flat on the INSIDE (the wrong side) of your garment. Your raw edge will now be entirely encased, and the very bottom edge of your garment’s hem should look incredibly clean and crisp.
Step 6: Secure the Top Edge
Now, all you have to do is secure the top edge of the horsehair braid to the inside of your garment. You have a few options depending on the look you are going for:

- For a couture, invisible finish: I highly recommend a blind hem stitch, either done by hand or by machine.
- For hidden structure: You can simply “stitch-in-the-ditch” on any existing vertical seams to tack the braid down invisibly.
- For a casual finish: Simply top-stitch the upper edge of the horsehair braid down from the right side of the garment.
Give the hem a gentle press with your iron and pressing cloth, and voilà! It’s time to party in your beautifully sculpted hem.
Pro-Tip: Seamlessly Finishing the Ends
When you get back to where you started stitching, simply overlap the ends of the horsehair braid by about one inch. There’s no need to sew the two ends together in a separate, fussy step; just treat that overlapped section as a single layer of braid when you do your final stitch-down.
Top 3 Tips for Horsehair Braid Success
Before you tackle your first project, keep these three golden rules in mind:
- Keep the heat away: Do not iron the crinoline directly—it melts incredibly quickly! Always press on the opposite side of the fabric with a cool iron and a pressing cloth.
- Do not stretch it: Try NOT to pull, stretch, or over-manipulate the braid while you are pinning or sewing. This will inevitably lead to a distorted, wonky finished hem. Let the feed dogs do the work!
- Measure first: Always measure the circumference of your hem and cut your braid before you apply it. This avoids the nightmare of having to rip stitches out or staggering multiple short pieces together at the end.
Time to Party!
And that’s it! You’ve just executed a flawless, professional-grade hem that will give your garment life, movement, and that unforgettable “wow” factor.
I can’t wait to see what you create with this technique. Have you ever used horsehair braid before? If so, tell me what you made in the comments below!
Happy Sewing, Shontae