
How to DIY Hack a Designer Dress Pattern: The Midnight Tulle Dress Story

Hello, my wonderful sewing family! Today I’m excited to share a DIY Designer Dress Pattern Hack that will take your sewing to the next level.
Okay, y’all, let’s have some real talk. Have you ever been scrolling through Instagram late at night, seen one of those breathtaking designer dresses, and felt that little whisper in your spirit?
Not just, “Oh, that’s pretty.”
I mean that fire. That little voice that leans in and says, “I could totally make that.”

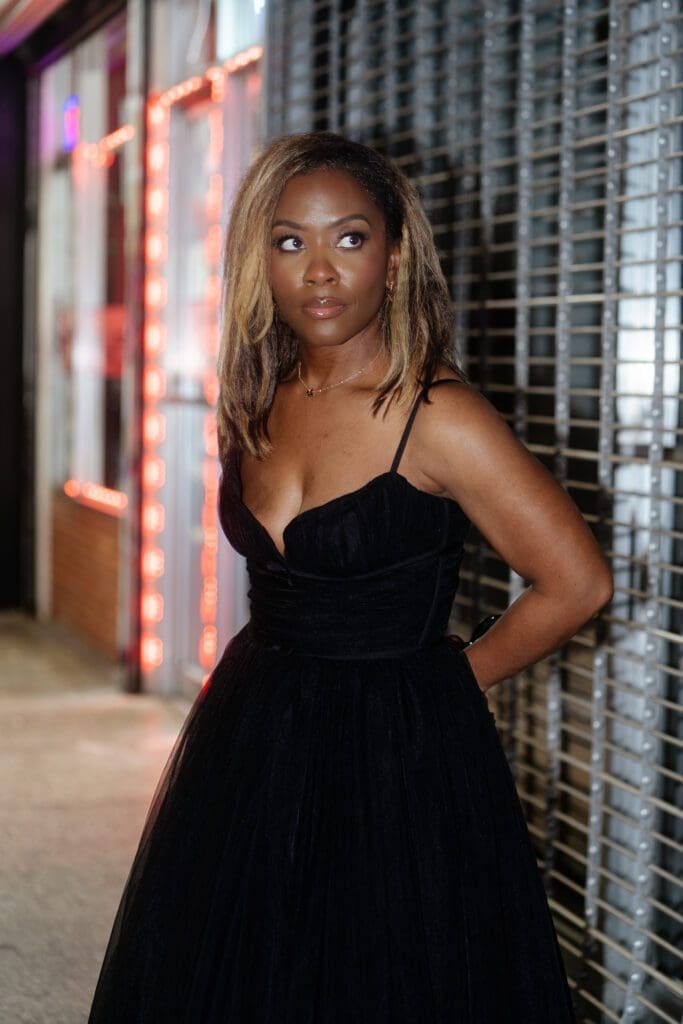
That was me. For months, I was completely obsessed with the gorgeous, structured dresses from House of CB. I mean, that bodice? The corsetry, the ruching, the juxtaposition of that powerful structure with all that soft, dramatic tulle… I was captivated. Corsets are the opposite of slubby.
But here’s the thing: I didn’t have a black-tie gala or a fancy red carpet to walk. I had my kid’s basketball game and a grocery list. But I couldn’t shake the vision. I just had this burning desire to create something that felt like straight-up magic.
Enter the Midnight Tulle Dress. And ya’ll know how I feel about black tulle whether purchased or from my favorites, Mood Fabrics or Minerva.

I decided to sew it. Not for an event. Not for a “reason.” But for the pure, unadulterated adventure of it. And that, my friends, is the best reason of all.
The GOLD: My DIY Designer Dress Pattern Hack
Now, here’s the challenge I lived for: there was no single pattern on earth that was going to give me this look.
And this, my friends, is the gold. This, right here, is the art of the DIY designer dress pattern hack. This is the part of sewing that still gets my heart racing after all these years. This is where we stop just following instructions and start designing. It’s where the real art happens!
A commercial pattern is a starting point, not a set of rules. The real magic is in “pattern mashing”—or as I like to call it, “Frankensteining!” It’s where you become a design detective, taking the pieces you love from different patterns and engineering them into your one-of-a-kind vision.

How do you do it? You “audition” your patterns. I pulled at least five different bodice patterns and two skirt patterns from my stash. I was looking at the line art, not the photos. I needed the seam lines of a corset, but the neckline of a bustier. It’s a puzzle. And the most creative, most thrilling (and let’s be honest, most terrifying) part of the process is taping those pieces together and making your first muslin.
This is where you give yourself permission to “fail.” That first muslin might be a disaster. That’s not a failure; that’s just information. This project was three muslins in the making. And I loved every second of it.
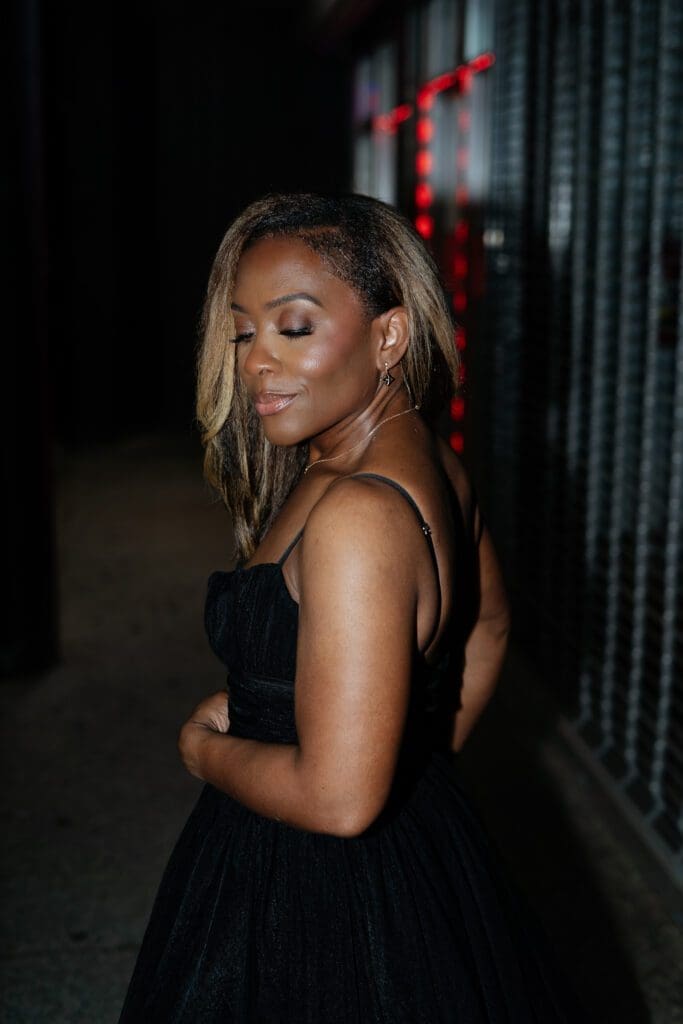
Deconstructing the Dream: The Bodice
First up: that killer House of CB bodice. It had to be structured. It had to have that almost-corset feel.
After falling down an Etsy rabbit hole (you know the one!), I found the perfect bodice from an indie pattern designer. I was specifically searching for “corset sewing pattern” and “bustier pattern with boning.” This one had all the right panels, that perfect sweetheart neckline, and the bones (literally!) that I needed.

Now, this part was a process. This is not a “whip-it-up-in-an-afternoon” project.
- Fabric is Key: The beautiful overlay fabric is just for show. The real work is being done by the lining and underlining. I used a non-stretch cotton twill as my “strength” layer—this is what the boning channels are sewn to.
- The Boning: This is what gives you that multi-million-dollar shape. I used Rigilene boning, which is a sew-in polyester boning. It’s strong but flexible, and you can sew right through it (slowly!). I sewed channels for it on every single vertical seam of the lining. This is what keeps the bodice from buckling or wrinkling.
- The Ruching: That beautiful texture on the front? That was all draped by hand. I cut a piece of my main fabric (a stretch satin, for drape) much wider than the front panel. I sewed it at the side seams, then just stood at my dress form and hand-pinned and ruched the fabric until it looked perfect, before hand-tacking it all in place.
- The Fit: I must have taken this bodice on and off at least a dozen times. A structured piece like this has zero room for error. The fit has to be precise.
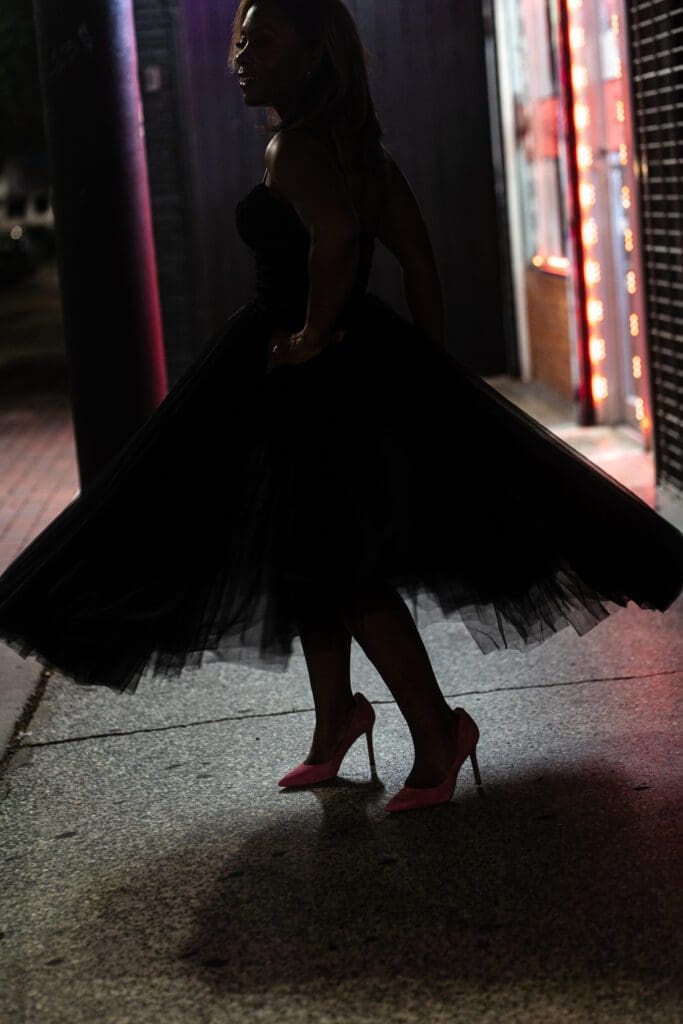
Taming the Tulle: The Skirt
With the bodice handled, it was time for the DRAMA.
For that dramatic, full, “midnight glamour” skirt, I turned to an old faithful: McCall’s 6466. This pattern is a beast, in the best way. It’s my go-to for a multi-layered tulle skirt that needs serious volume because it’s designed to handle it.
Tulle, as many of you know, can be… a journey.

I used yards. And yards. And yards of inky-black tulle—I think I bought 25 yards just to be safe, and I used almost all of it. Here’s a tip: I used two different kinds! I used a layer of stiffer, “crinoline” style netting underneath to give it poofand support, then layered the softer, dreamier nylon tulle on top so it would move beautifully.
My #1 Tip: The Gathering Trick That Will Save Your Sanity
Do not, I repeat, do not try to gather 25+ yards of tulle with two rows of basting stitches. You will snap a thread, you will cry, and you will want to throw the whole project in the bin.
Instead, use the zig-zag-over-a-cord method.
- Set your machine to its widest zig-zag stitch.
- Grab some heavy-duty crochet thread or (my favorite) dental floss. Yes, dental floss!
- Lay the cord/floss on your seam allowance, right down the middle.
- Zig-zag over the cord, making 100% sure your needle never pierces it.
- When you get to the end, just grab one end of the cord and pull. The tulle gathers up like absolute magic. It’s fast, it’s strong, and it’s perfectly even.
Attaching this monster skirt to that tiny, fitted bodice requires patience. The weight of the skirt is significant, so your bodice has to be strong enough to hold it. I graded the (very bulky) seam allowance aggressively to reduce the “poof” right at the waistline.
The Finishing Touch: That Pop of Pink!
A dress this dramatic, this… black… could easily be styled with black or metallic shoes. And that’s… fine.
But it felt too expected. Too safe.
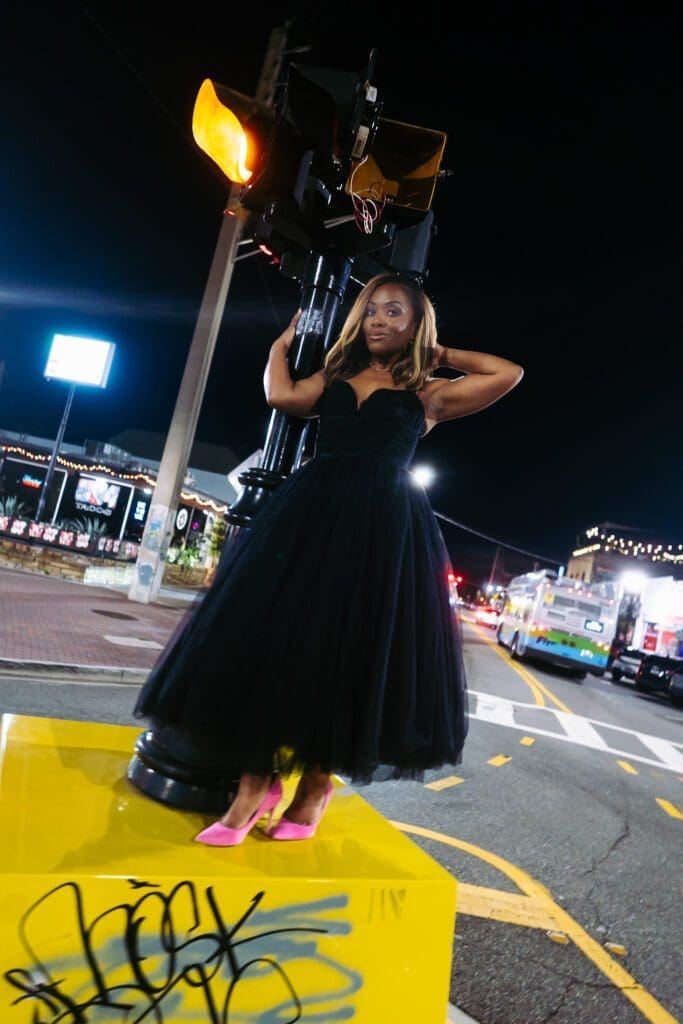
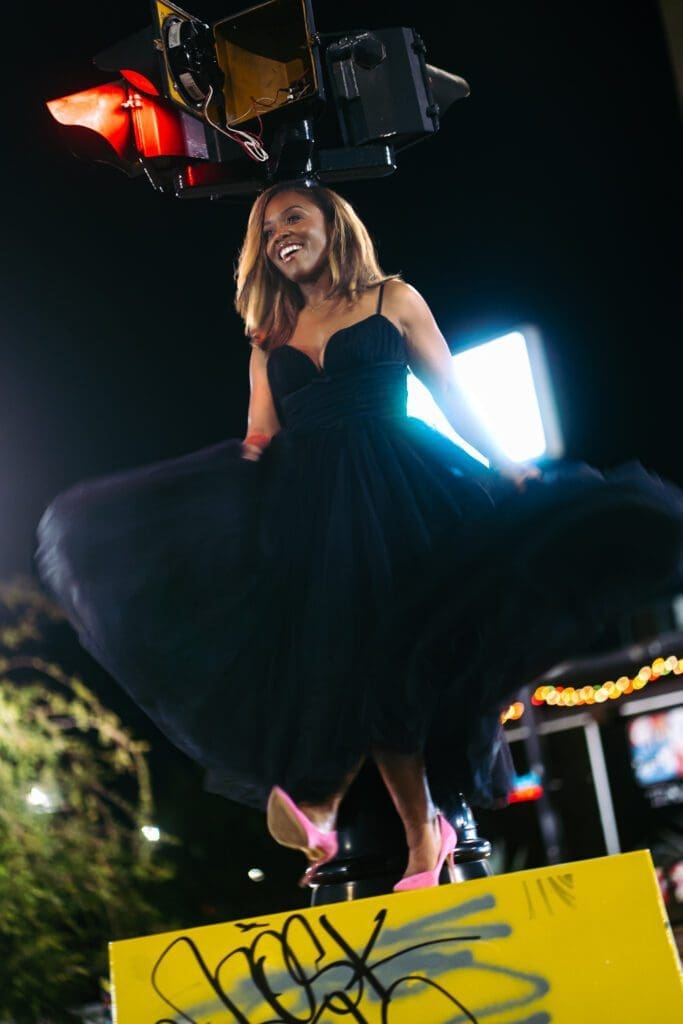
The second I tried it with these bright, obnoxious, wonderful pink heels… BAM! The entire look clicked into place. It was that unexpected jolt of fun and personality. It was the exclamation point on the whole dang adventure.
Conclusion: You Are The Occasion for Your DIY Designer Dress
This project was such a powerful reminder: We don’t need a “reason” to create. We don’t need an invitation to wear something that makes us feel powerful and alive.
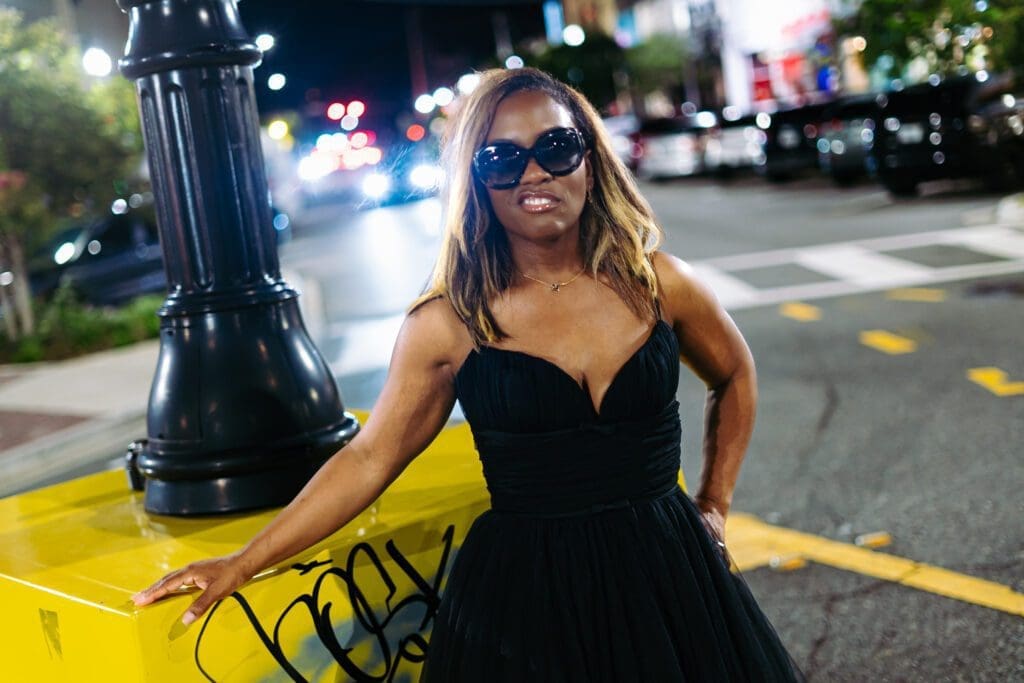
The joy is in the making. The thrill is in the challenge. The magic is in walking down a plain old city street in a dress you poured your heart and soul into.
So, here is your official permission slip: Sew the dress. Hack the pattern. Wear the look. Be your own occasion.